Add/Edit Vehicles
This form, found in both the Resources->Fleet and Routing->Vehicles pages, lets you configure all vehicle details.
1. General
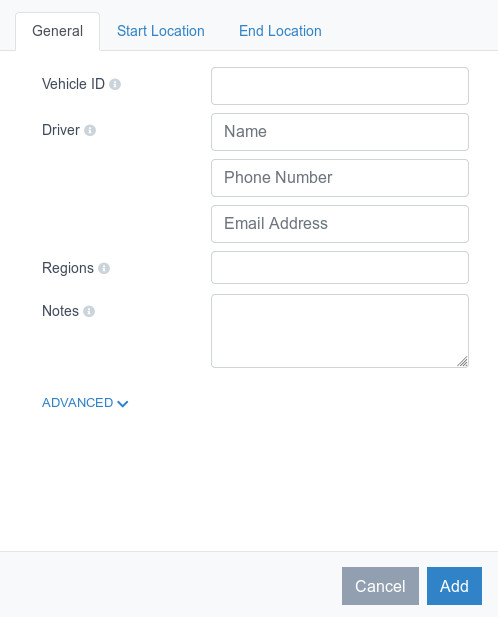
Vehicle ID (required): An unique ID for the vehicle or driver to identify them within the RouteFinder app.
Driver - Name: An easy-to-reference name for the driver or vehicle. Used for display and ease of recognizing the driver.
Driver - Phone Number: The phone number of the vehicle or driver for for future dispatching options.
Driver - Email Address: The email address of the vehicle or driver as an option for sharing their route with them when the planning is done.
Groups: The groups, corresponding to the stops group, that this vehicle will service.
Notes: Notes about the vehicle or driver for future reference. Never seen by the vehicle or driver.
2. Advanced
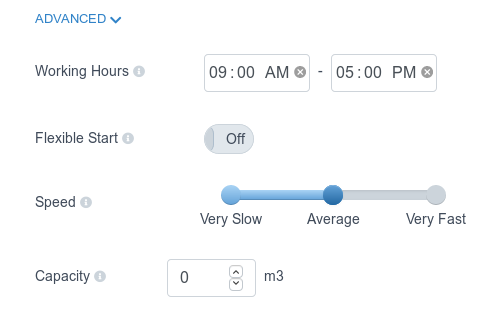
Working Hours (required): The time range of vehicle availability.
Flexible Start: checking this option lets RouteFinder shift the start of a vehicle service within the “Working hours”. For instance, if you allow a “Flexible Start”, the vehicle could leave its depot at 10:00 am; otherwise the schedule will start as soon the “Working hours” time window opens. Enabling this option you can reduce or avoid waiting times within your vehicle schedule.
Speed: Sometimes you will have drivers that drive a little bit faster than others. This will lower their driving time accordingly.
Capacity: This is the amount that the vehicle can carry in your selected units. Each stop assigned to the vehicle will reduce the available capacity of the vehicle according to the stops load. The units can be configured in Settings on the sidebar.
3. Start Location
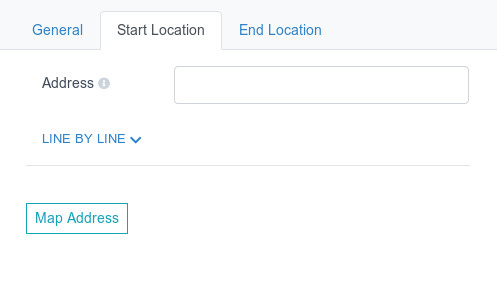
This is required. Here you can set the location from where the vehicle begin its service. The address is a free-form text box that allows you to enter the address in your country's format and language. If you would prefer to enter the address line-by-line, click the Line by Line link to expose those options. It accepts the standard international address format. Once the address is entered, hit the "Map Address" button to obtain the geocoordinates.
In the "Edit Vehicle" form, the "Map Address" button is located directly below the address field, disabled and called "Map New Address". If you modify the input to the address field, you will be able to click "Map New Address" to obtain the new geocoordinates.
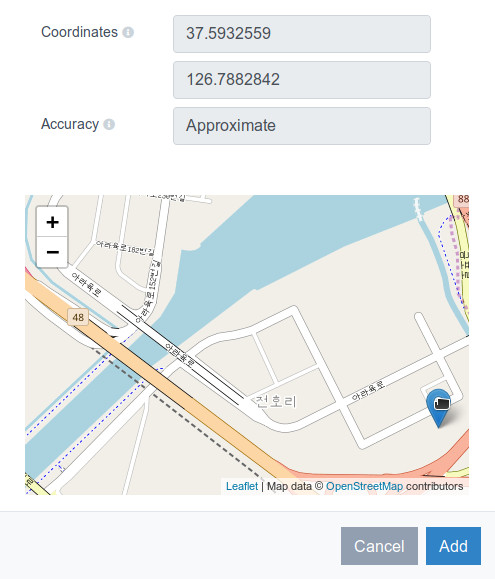
Once the location has been mapped, further information will appear and you have the option to drag and drop the pin to assign the proper location for routing.
Coordinates: The latitude and longitude of the location.
Accuracy: How accurate the coordinates are believed to be. From most accurate to least: Rooftop, Approximate, Geometric Center. Rooftop and Approximate are generally acceptable. Geometric Center can be quite a ways off.
4. End Location
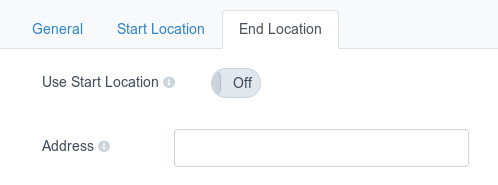
Here you can set the location that the vehicle will end at. It is the same as "Start Location" with one difference. You can click "Use Start Location" and it will use the same address for both the Start and End Locations.
