Manage Stops in Plan
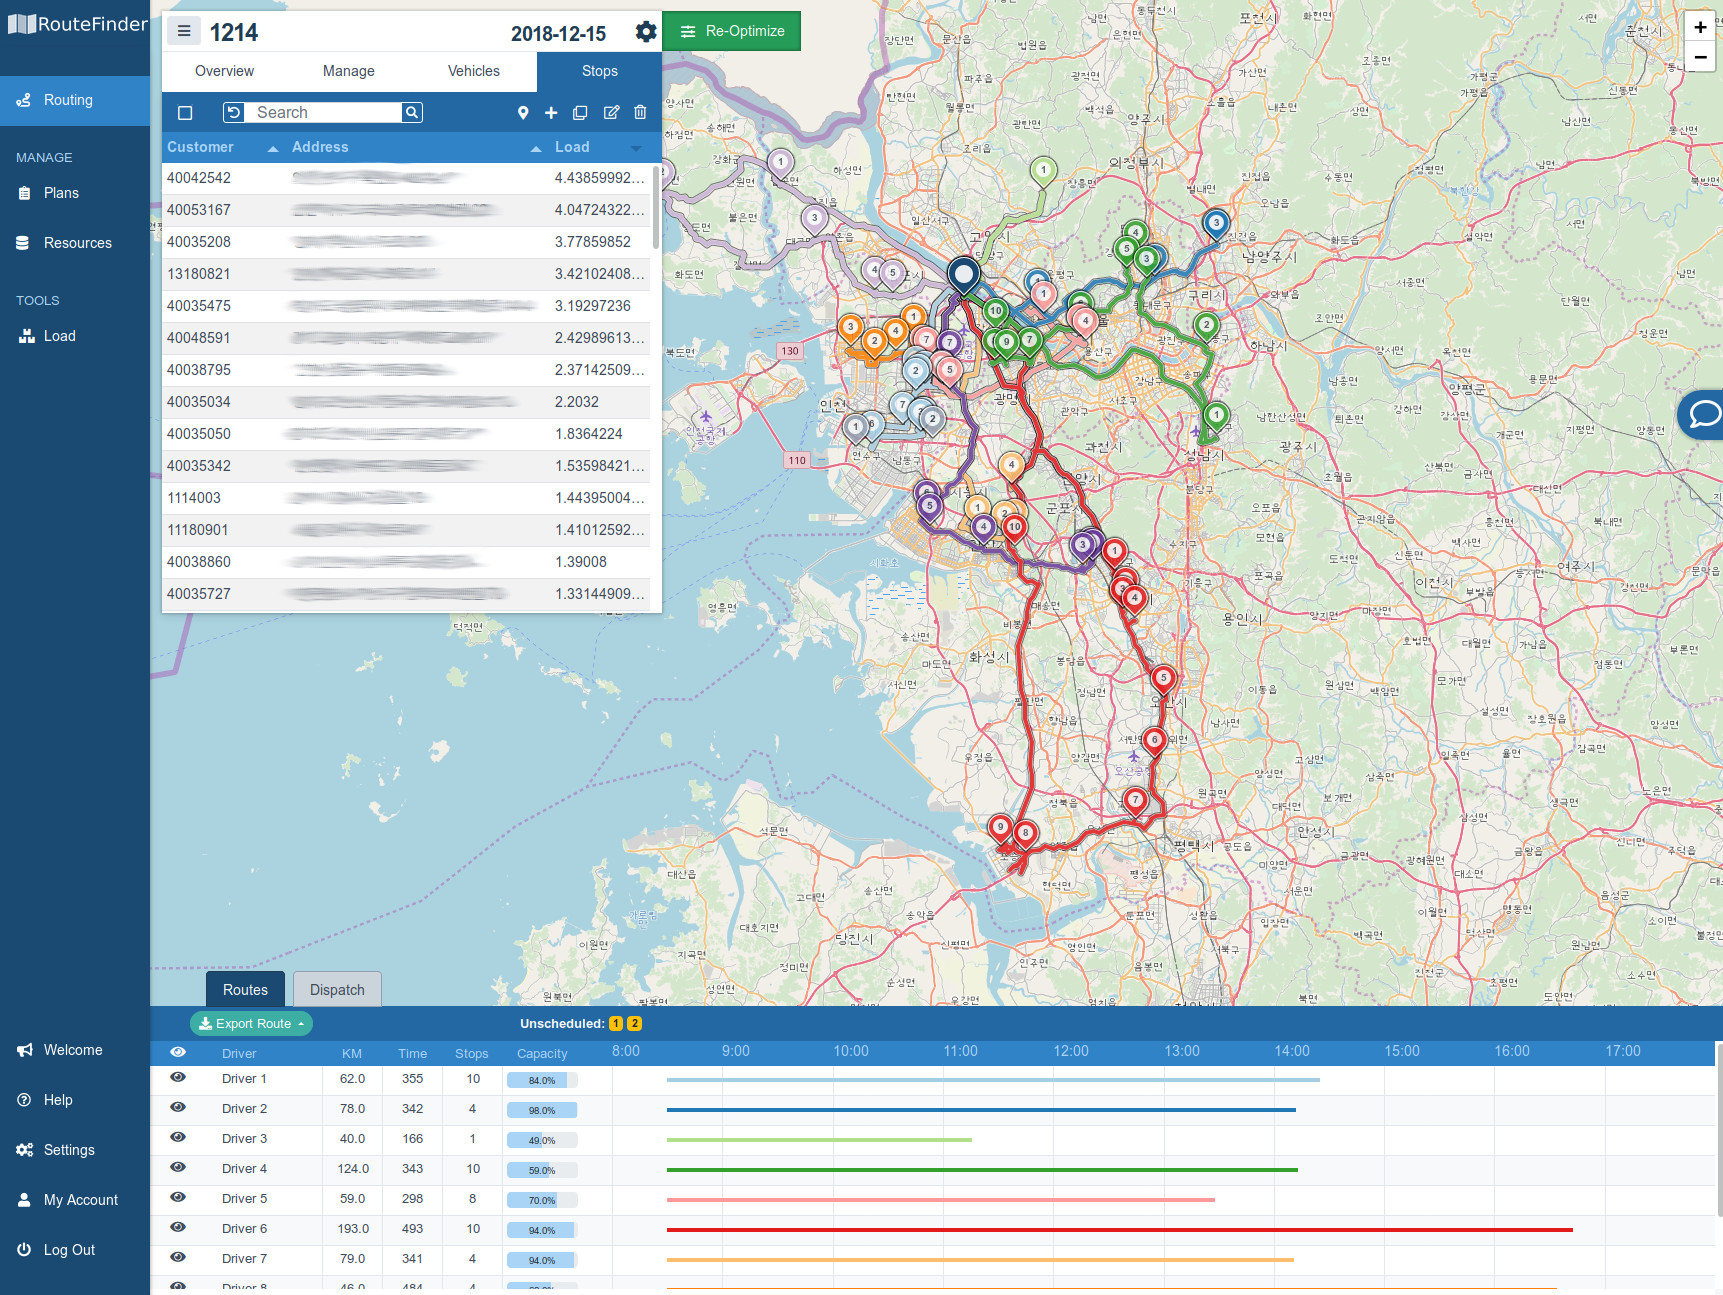
This is the Routing->Stops tab. Here you can manage your stops for the current plan. That means adding new stops, editing stops, removing stops, viewing stops, and duplicating stops. The table is searchable and sortable by clicking the headers. The main controls are all along the top of the table.
New customers associated with a stop entered into the Routing->stops tab will be saved to the Resources->Customers page. All customers are available to select from in this tab.
Select All / De-Select All
You may want to select all stops to remove them or clear the ones you have selected.
You can achieve this with the square icon on the left of the main controls. When the square is empty it will select all rows.
When the square is white with a minus sign icon it will de-select all rows.

Searching Stops
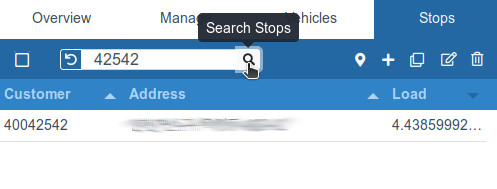
To the right of the Select All button is a search bar. Simply enter text you want to search for and click the search icon on the right of the search bar.
The table will then only display rows that contain text matching the search bar. To remove the search filter, click the undo icon on the left of the
search bar.
Viewing Stops
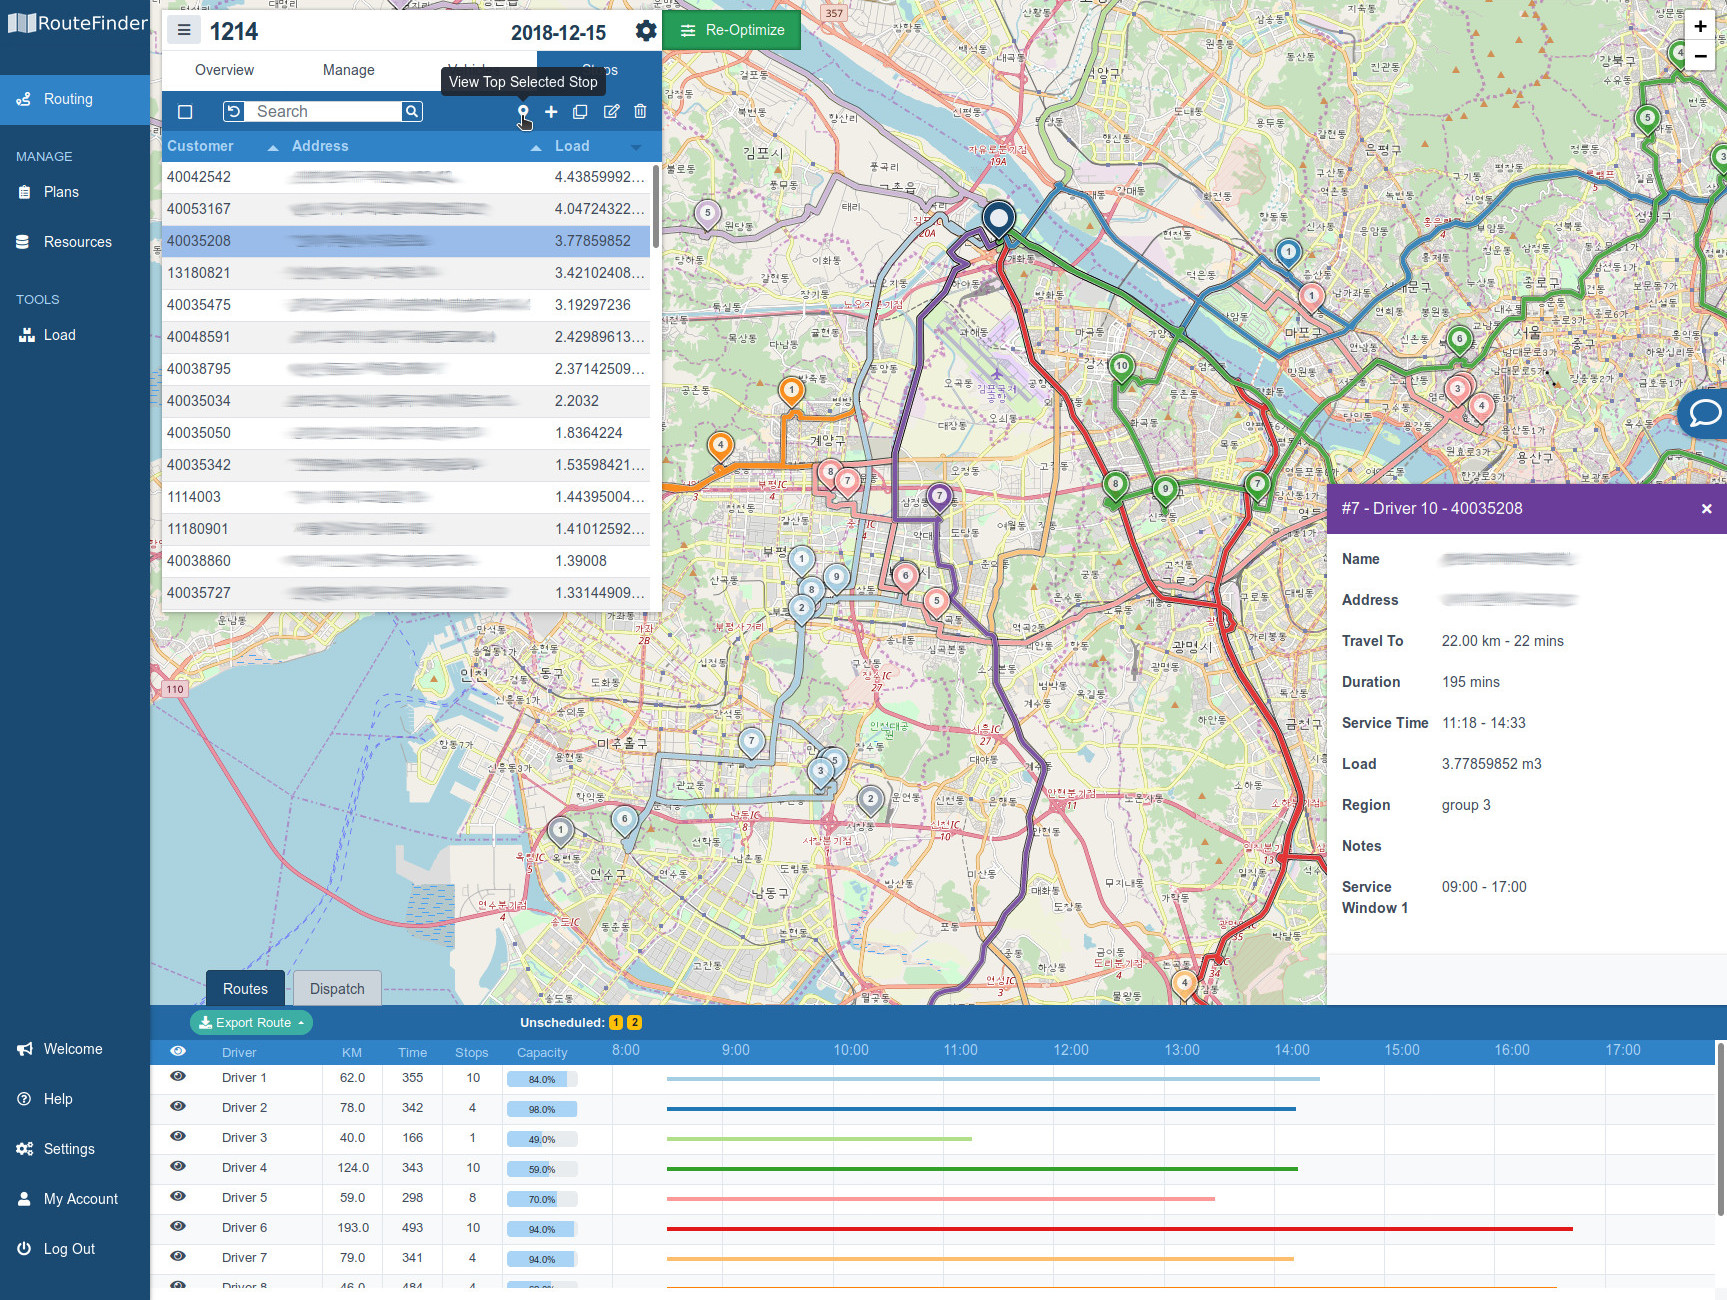
To the right of the search bar, at the start of the next cluster of buttons, is View Selected button in the form of map-pin icon.
Select the stop you would like to zoom in on and click the View Stop button. The map will center and zoom in on that stop and a location window with
details about the stop will pop up. To return to previous view simply click the "x" on the location window.
Adding Stops
To the right of the View Selected button there is a plus icon. This is the Add menu button.
Clicking it will give a dropdown menu with Three options:
Add New
,
Upload List
and Select from Resources.
Select from Resources pulls up a list of all your customers. From there you can choose the customers you want to add to your plan as new stops.

Cloning Stops
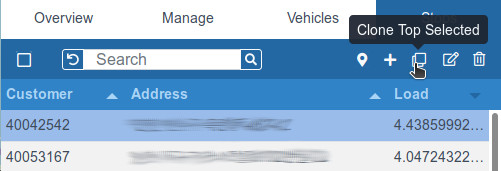
To the right of the Add button there is a double square icon. This is the Clone Selected button.
Clicking it will clone all selected stops. The new stops will have no stop information. This is useful if you need to split a stop
into two stops due to a large load or need to add a pickup for the same delivery service.
Editing Stops
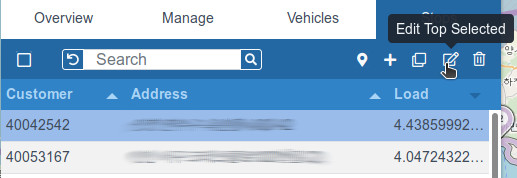
To choose a stop to edit, simply click on the row. The row will turn blue indicating that it has been selected.
You can select more than one row at a time; however, only the top row will be used for editing.
To the right of the Clone Selected button there is an icon of a square with a pencil. This is the Edit Selected button.
Clicking this will allow you to edit the selected vehicle using the
Add/Edit Stops
form.
Removing Stops
On the far right of the main controls there is a trashcan icon. This is the Remove All Selected button.
Clicking it will remove all selected stops.
