First Simple Tutorial
Welcome to RouteFinder! In the following tutorial we'll guide you through the app to show you how to build and optimize your first plan with just a few clicks!
1. Define your fleet
RouteFinder calls your individual resources a "Vehicle" and all of your vehicles a "Fleet". A fleet could be, for instance, a set of vehicles delivering or collecting goods from customers every day. It could also be a set of fieldworkers for field service businesses, cleaners, electricians, plumbers, facility and property maintenance, salesmen, etc.
First, insert all your vehicles, drivers or on-the-road resources by clicking on the "Vehicles" tab, as shown in the following image. Insert your first vehicle by clicking on the "Add New Vehicle" button!

Insert your vehicle details. You need to insert at least the driver id, email (for dispatching), working hours and start address. Make sure you click "Map Address" to find the geo-coordinates necessary for routing.
You can then duplicate your new vehicle, copying its settings to a new one. Just select the vehicle row and click on the "Clone Selected" icon, as shown in the picture below.

For more details on the vehicle settings, how to upload a list of vehicles or selecting from fleet resources please check our tutorial on adding vehicles.
2. Define your stops
RouteFinder calls your locations of service, delivery or pickup a "Stop". Your stops could be all your deliveries for one day, all your pickups for one day or all your locations of service for one day. Basically any location you want a vehicle to do something at.
First, insert all your stops by clicking on the "Stops" tab, as shown in the following image. Insert your first stop by clicking on the "Add New Stop" button! Alternatively, you could enter all your stops at once by clicking the "Upload List of Stops" button and following this tutorial on adding stops.

Insert your stop details. You need to insert at least the customer id and location address. Make sure you click "Map Address" to find the geo-coordinates necessary for routing.
For more details on the stop/customer settings, how to upload a list of stops or selecting from customer resources please check our tutorial on adding stops.
3. Optimize your plan
Congratulations! You've successfully created your first routing plan with RouteFinder.
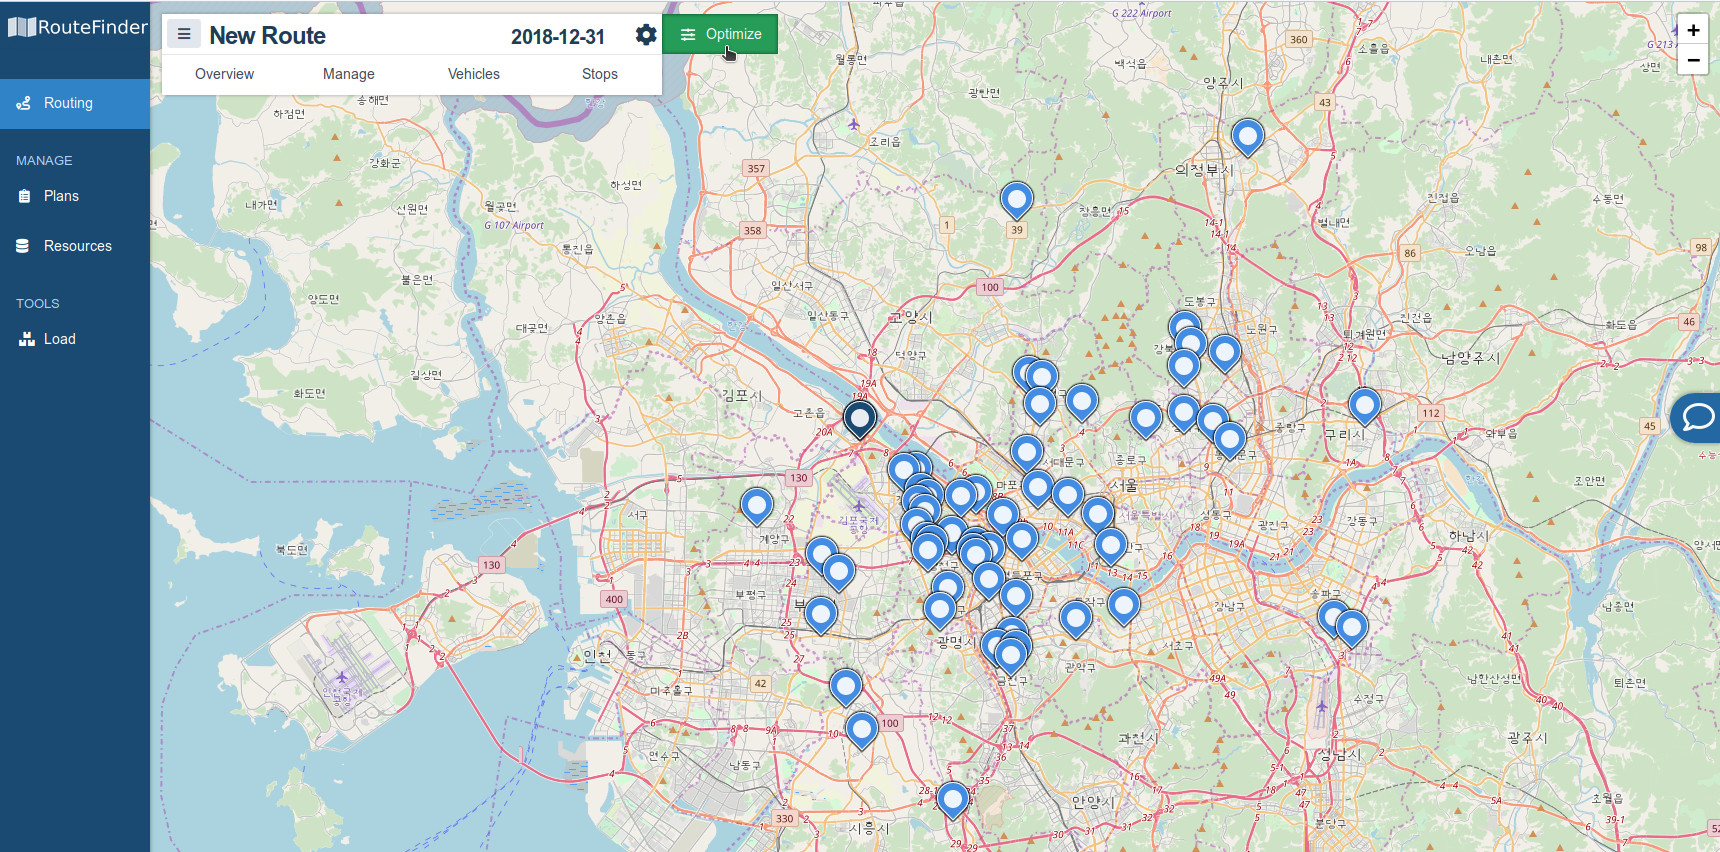
At this stage you will find all the imported stops in the "Stops" tab and be able to see them all on the map.
You're now ready to ask RouteFinder to help you save time and money: click on the green "Optimize" button and go get a coffee!

Depending on the number of orders and vehicles of your plan, the optimization task can take from a few seconds to some minutes. Learn here why.
You can make manual fine tuning on your plan by drag-and-dropping the orders between the vehicles or between a vehicle and the unscheduled orders list, as explained in this tutorial.