Manage Customers
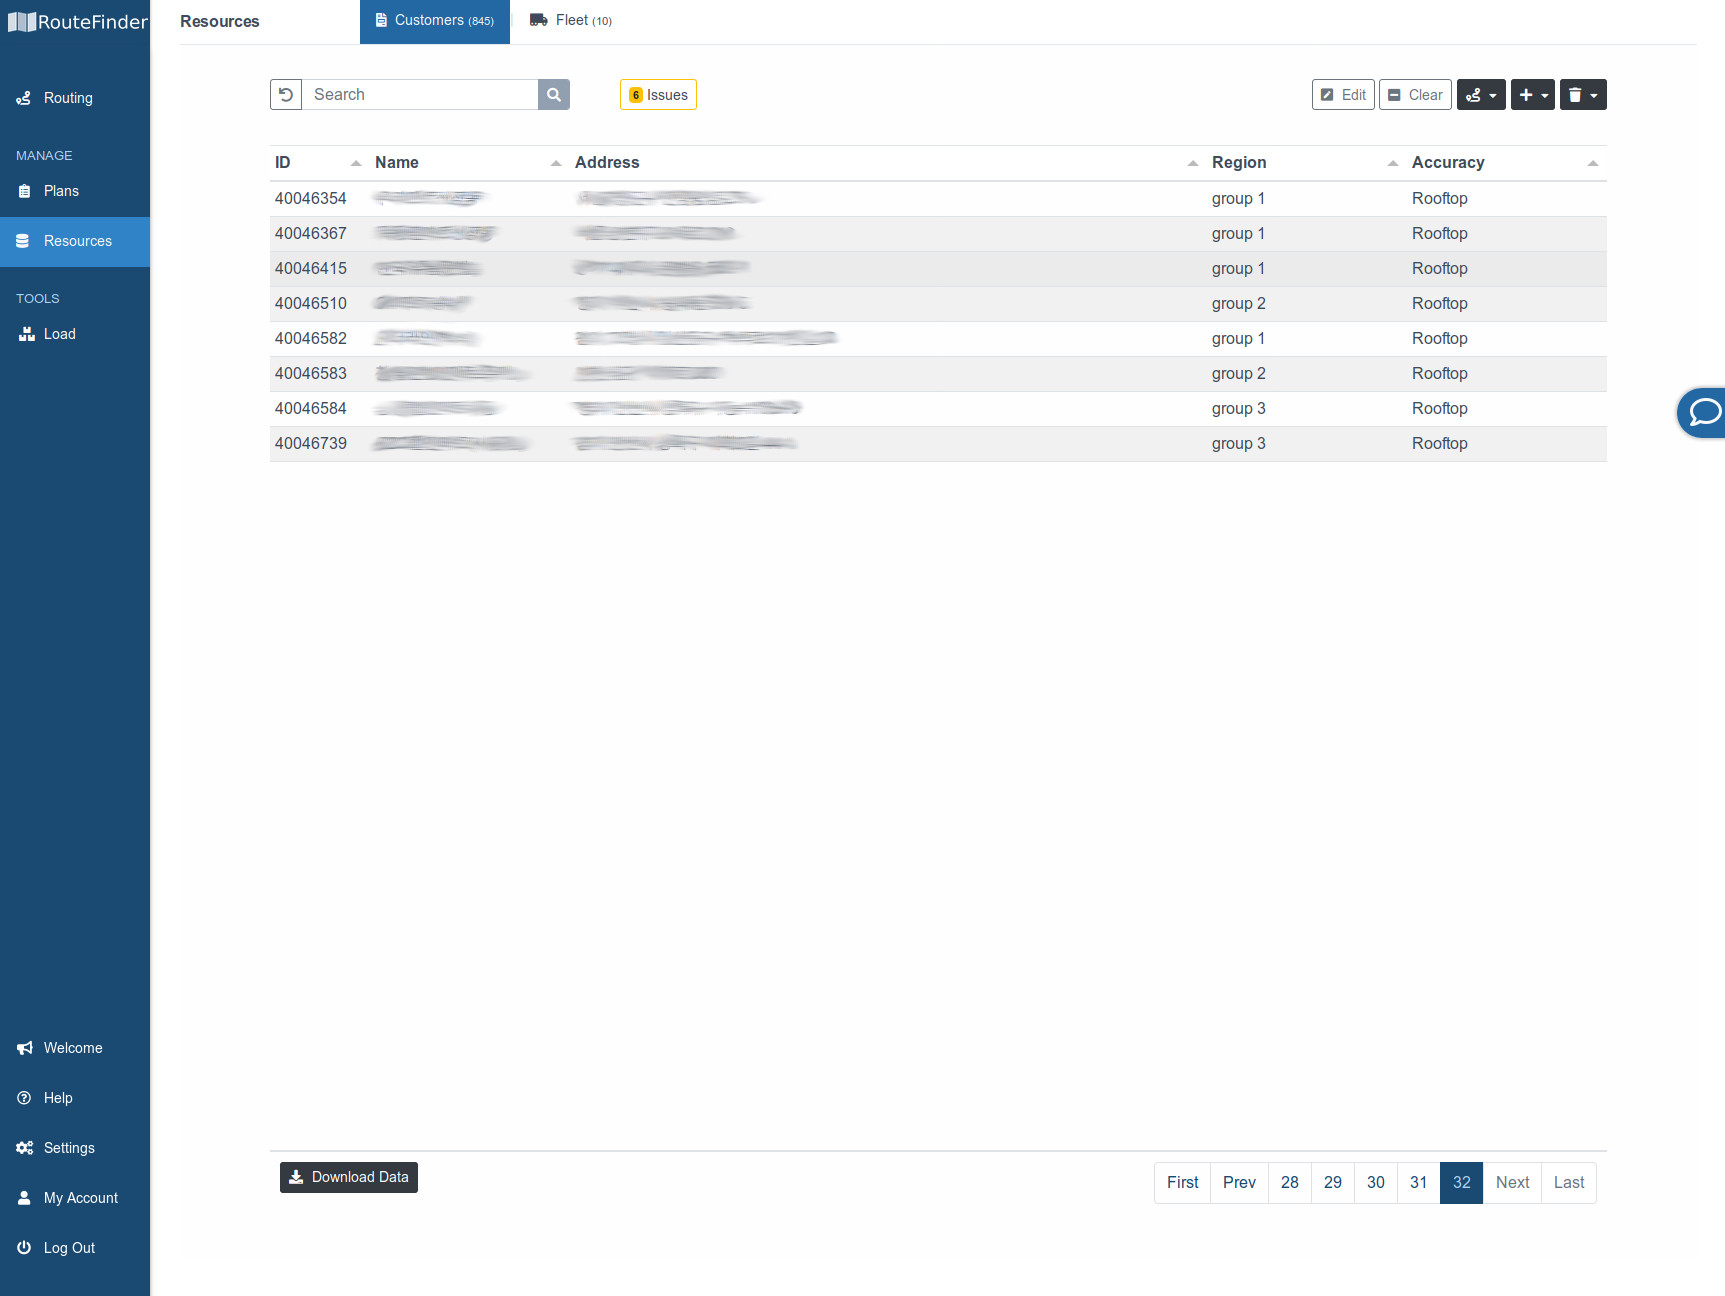
This is the Resources->Customers page. Here you can manage all of your customers. That means adding new customers, editing current customers, removing customers, determining if there are issues with the geocoding, exporting all data, and selecting customers to start a new plan with. The table is searchable and sortable by clicking the headers. The main controls are all along the top of the table. This is where all the actions can be accomplished from.
Customers entered into the Routing->Stops page will be shown here as well as any customers you add/upload here directly. Its a repository of every customer you have entered and is available to choose customers from each time a new plan is created.
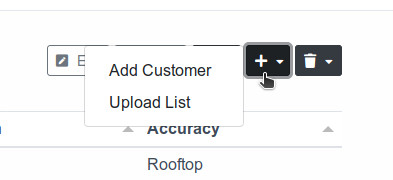
Adding Customers - On the far right of the main controls there is a dark button with a plus icon. This is the add menu. Clicking it will give a dropdown menu with two options: Add Customer and Upload List .
Editing Customers - To choose a customer to edit, simply click on the row. The row will turn blue indicating that it has been selected. You can select more than one row at a time; however, only the top row will be used for editing. On the far right main controls there is an outline button called "Edit" Clicking this will allow you to edit the customer using the Add/Edit Customer form.

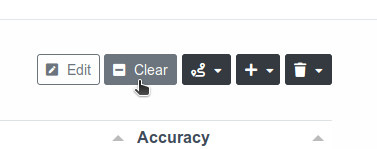
Clear Selected - You may accidentally select too many customers and want to start over. You can click each individual row that is selected to deselect it or you can click the outlined "Clear" button in the upper right main controls.
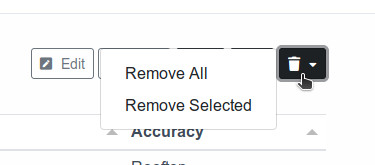
Removing Customers - On the far right of the main controls there is a dark button with a trashcan icon. This is the remove menu. Clicking it will give a dropdown menu with two options: Remove All or Remove Selected. Remove All will remove all customers from your resources. If you have any customers selected, Remove Selected will remove only those customers.
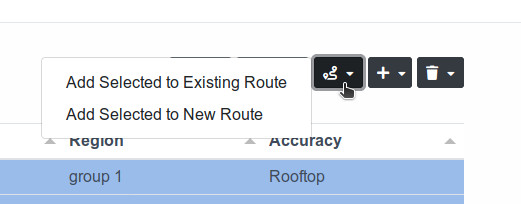
Adding Customers to Route Plan - On the far right of the main controls there is a dark button with a path icon. This is the Add to Route menu. Clicking it will give a dropdown menu with two options: Add Selected to Existing Route Plan or Add Selected to New Route Plan. With customers selected, clicking the Add Selected to Existing Route will allow you to select an existing route to add the selected customers to as new stops. Clicking the Add Selected to New Route will allow you to create a new route and add the selected customers to it as new stops.
Searching Customers - On the far left of the main controls is a search bar. Simply enter text you want to search for and click the search icon. The table will then only display rows that contain text matching the search bar. To remove the search filter, click the undo icon on the left of the search bar.
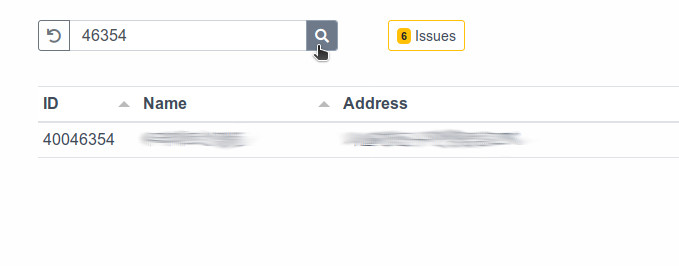
Issues with Customers - On occasion, a geocoded location may have an error by coming back incomplete or being a very low accuracy. In those instances, two filters will appear next to the search bar. The yellow filter called "Issues" will show only customers where a location has low accuracy so that you can double-check the addresses and reprocess them. The red filter called "Errors" will show only customers where the geocoding failed. Clicking the filter a second time will remove it.

Download Data - On the bottom left of the table there is a button called "Download Data". This button will download all of the data contained in the table.
